With the increasing cost of New Zealand-grown fresh vegetables and with the increasing need to eat healthy, growing your own veggies at home is a terrific idea.
Raised beds offer a number of benefits including: reducing back strain while tending the bed (gardeners can sit on the edge while weeding), protecting soil from pathway weeds and garden pests (slugs and snails), preventing soil compaction and erosion (during bad weather). Raised beds also provide superior drainage and warmer soil than ground level which combine to create the opportunity to plant earlier in the season.
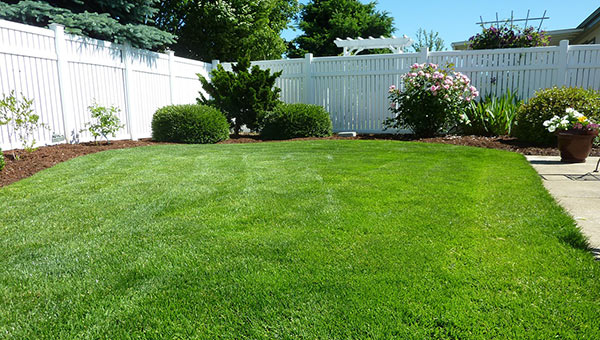
Step 1. Decide the best place for your raised bed
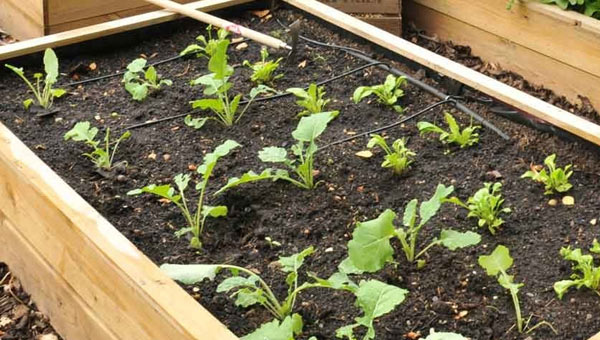
If you’re aiming for fresh veges for the dinner plate, then try to place your bed in a level, sunny spot – 5 hours of sunshine a day is optimal. Raised beds are particularly good for growing root vegetables (carrots, beetroot, radishes, parsnips), leafy greens (lettuces, kale, spinach), onions, tomatoes and potatoes.
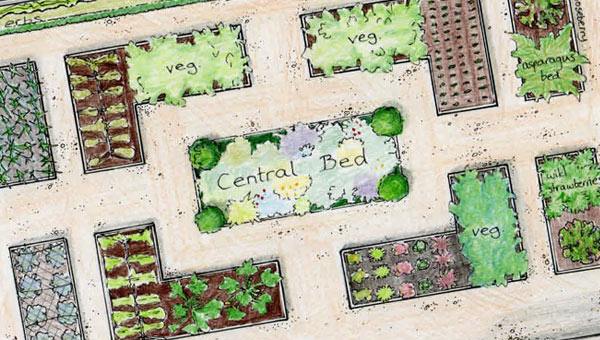
Step 2. Decide a size to suit your space
You can build a raised bed to any custom dimension, but the key factor to remember is being able to easily reach the centre of your bed with a minimum of awkwardness. With this in mind, the recommendation is that the bed’s width should be no wider than 1.2m (4 feet) across. It’s important to make it so you don’t have to stand on the soil, to avoid compression (which affects drainage).
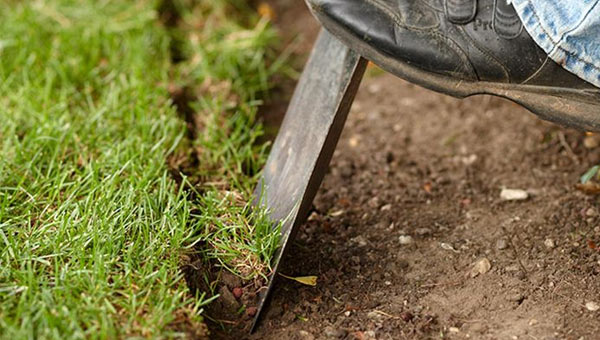
Step 3. Prepare the ground by digging up the grass where your raised garden will go
Musgroves uses 150×50 macrocarpa lengths for our kitset planter boxes. For increased sturdiness (and increased comfort for sitting on the edge) chunkier sizes such as 200x50mm (8×2 in.) are also good for permanent bottomless raised beds. Use a spade to remove the top layer of grass (20mm off the top will do) and then lay the timber in place and use a spirit level to get it level before constructing.
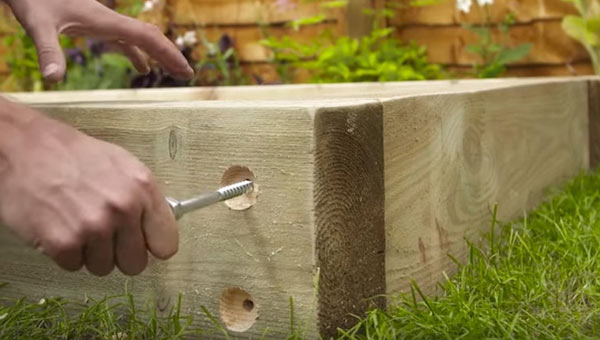
Step 4. Screw the raised bed frame together
Attach your timber together using large galvanised screws, and keep the bed tidy by hiding away the screw head by the method of countersinking holes. Besides the countersunk holes, the main screw holes also need to be pre-drilled (large screws are most easily and quickly fastened using a ratcheting socket wrench).
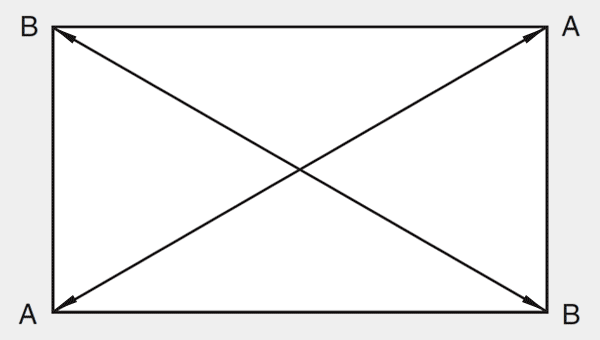
Step 5. Check the corners to ensure the bed is square
The easiest way to check for square corners is to measure from one corner to the opposite corner diagonally, for both sets of corners. If the measurements are exactly the same you can be sure you have square corners.

Step 6. Drive pegs into ground in box corners
At the stage of having the first layer in place (before adding a second layer), place the ground pegs into the corners and drive them in. These pegs are the means by which the layers are secured to each other by using 100mm galvanised nails to attach the pegs to the box.
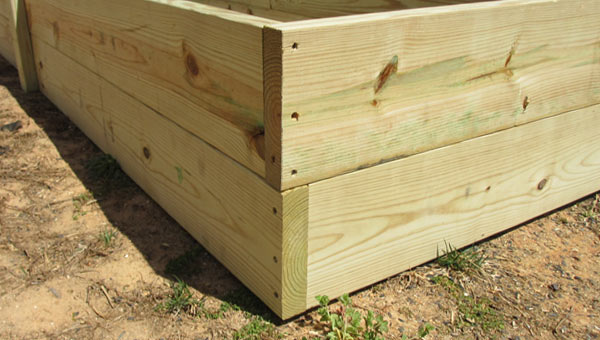
Step 7. Stagger the joins of the second layer
To increase stability and strength, and enhance looks, stagger the joins on the second layer over the joins of the ground layer and repeat the same screw fastening technique.

Step 8. Lay down layers of newspaper
The box is complete and it’s time to prepare the ground inside. Place about six layers of newspaper on the ground inside the box to function as an environmentally-friendly weed mat.
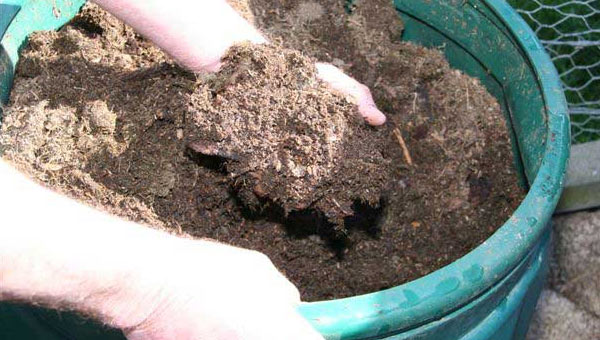
Step 9. Add a green waste and soil layer
Adding a layer of compost (the worms will love it), followed by a soil layer which can be a nutrient-rich planting mix (e.g. Tui Vegetable Mix) available at all the shops selling garden products.
If you haven’t worked out the vegetables you want, now is the time to rake the garden level for a nice finish and head on down to your local garden centre for advice on plants.