
If you’re into doing your own home DIY and looking for a new project ahead of winter, then perhaps some new ceiling insulation installation could be the just the right job you’re looking for.
Where to begin when installing ceiling insulation?
To get you started, we’ve provided a quick rundown of how you can achieve the best out of your insulation, ensuring you get the most effectiveness.
A good place to start is to check the R-Value for your location. There are three different climate zones, which have different R-Value requirements under the building codes, and you must comply with the minimum standard, but the higher you go the better insulation you will have.
Measure your ceiling area, and calculate how many bales you’ll need and try to avoid gaps, as the aim is to achieve a snug fit. Gaps can reduce the effectiveness of your insulation by approximately 3% for every 1mm gap, but having said this it’s important to have clearances around objects like downlights, chimneys, and ducts. For more information on measuring you click here to the Pink Batts measuring video.
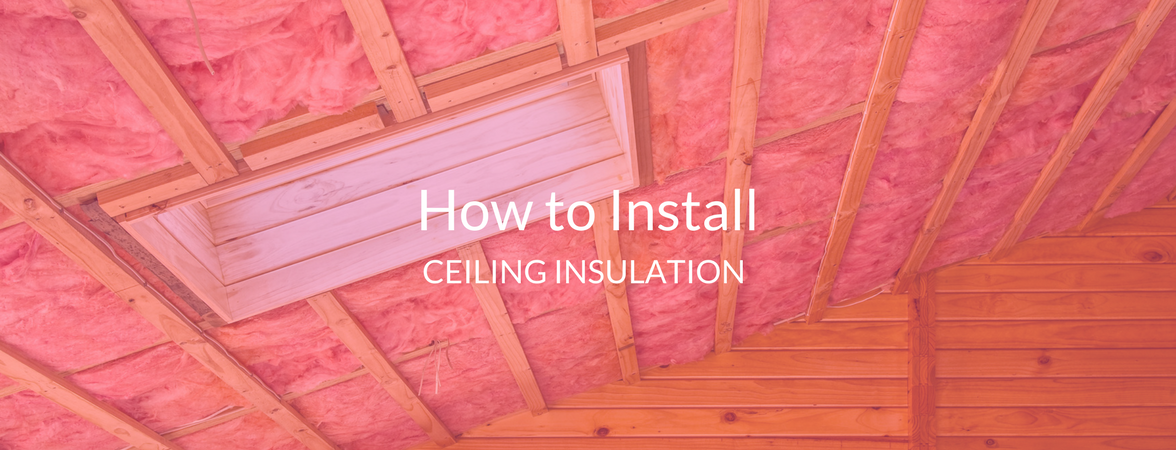
Once you have your planks (to create a safe walkway), a work light and insulation, you should be ready to install. Start in the area furthest away from the roof access and measure the space between the framing. Use a knife, ruler and cutting board to cut a straight edge.
It’s really important to leave up to 10 – 15mm extra to ensure that tight fit. If you don’t leave enough room, then it can be really tricky to fix and so it’s always better to be on the generous side.
Once you have carefully cut your insulation piece, place into the area and use a push rod or broomstick for areas that are slightly out of reach or tight spots.
Ensure there is at LEAST 25mm clearance between the roof underlay and top of the insulation (you may need to cut away some). This prevents any moisture in the underlay from weaving into the insulation, which can become a big problem later down the line.
To review the required clearances to find out how much space (New Zealand’s required standards) should be left around each object such as downlights, chimneys and ducts view the Pink Batts clearance guide page.
When working around pipes or plumbing cut a slit in the insulation and wrap it tightly around the pipes. For cables and wires just slip some insulation underneath, as covering the entire wire may make it overheat, particularly if you live in an older property.
Lastly, good insulation should look neat and tidy!
5 Top Tips for installing roof insulation
- For exact gap measurements, clearances and special considerations read through the official New Zealand Standard Energy Efficiency – Installing Bulk Thermal Insulation in Residential Buildings.
- It’s best to treat all electrical cables as live, being careful not to cut or expose cables and wires. Do a safety check before installing.
- Be prepared for hidden surprises, from the more obvious such as sharp objects, spiders and loose boards, to the more unusual surprises wasp nests and possibly stray cats.
- Ensure you’re well equipped by wearing safety glasses, a dust mask, covered shoes, cut resistance gloves and loose, comfortable attire.
- Work in teams of two to three as not only will this make things more efficient, but it will also assist with handling the bulky installation.
If you’re thinking about or have already purchased some of our unused Pink Batts, you can watch the Pink Batts, how-to videos.
If you’re still unsure on whether you’re up for the task, then get a quote from a professional.